-120x120.jpeg)

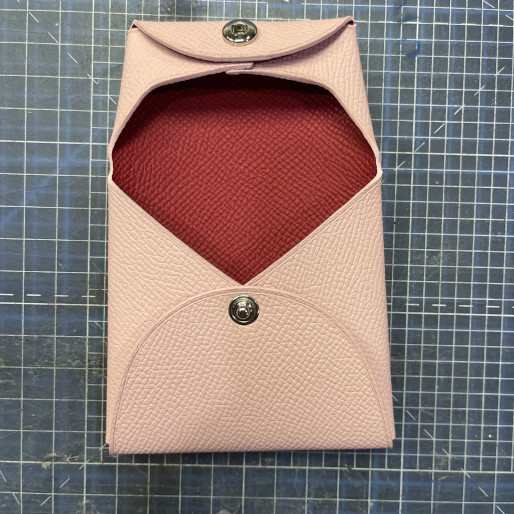
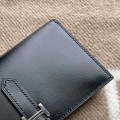
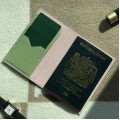
Here is a fairly comprehensive outline of the process I use to make my Bastia, Calvi and Calvi Duo style SLG’s (small leather goods).
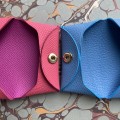
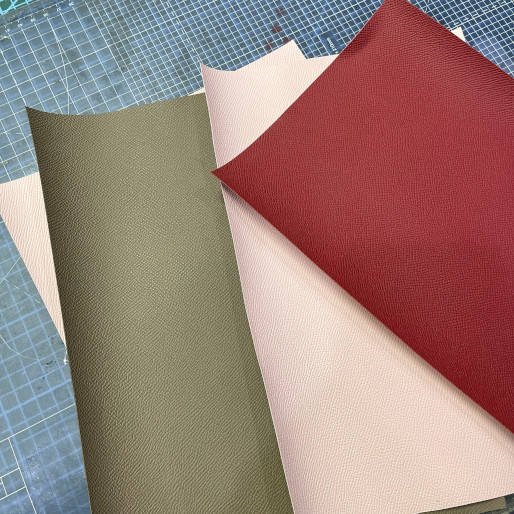 Let’s start with materials. Regardless of the leather used, the thickness is critically important. It cannot be thicker than 0.6mm. This is because all my SLG’s are double sided. This means that I am bonding 2 pieces of leather together. Why do I do this? A piece of leather has a grain side and a flesh side. The grain side is the side you generally want on the outside of am item. The flesh side has a more suede finish, except rougher. Suede is essentially the flesh side of the leather but prepared to be used on the outside of an item. For a Calvi style card holder I take 2 pieces of 30 x 30cm leather, carefully apply a strong leather specific adhesive to the flesh sides on each piece and then very carefully align and lower one piece to the other.
 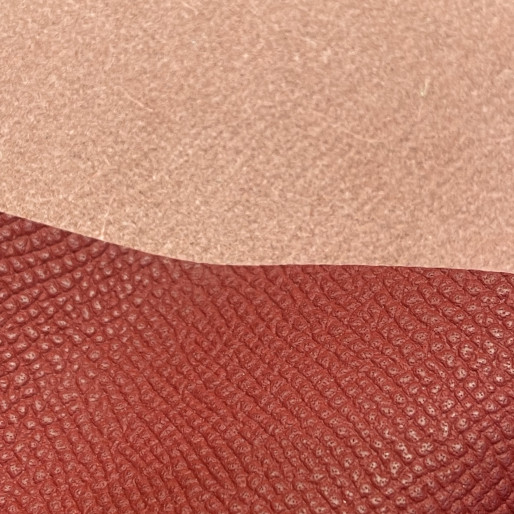 Very important to be patient and careful here. If a wrinkle gets in it’s very difficult to separate the 2 pieces again. Once the 2 pieces are together, I then use a roller to ensure perfect contact and remove any small unevenness.
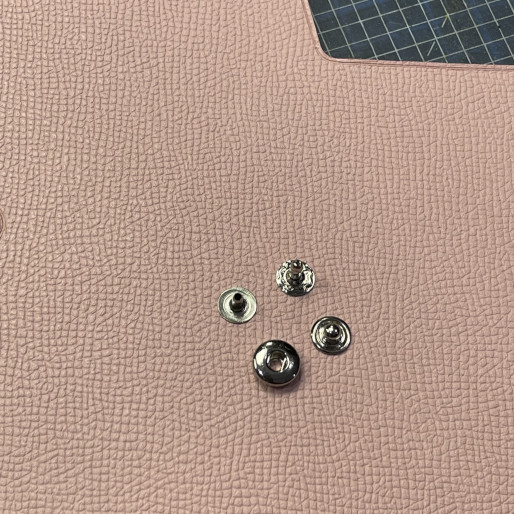
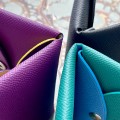
I am now left with 1 piece of 30 x 30cm leather, 1 - 1.2mm thick with a grain finish on both sides and a different colour on each side if required by the client. The press snaps I use are special too.They are 8.5mm hidden snaps with an extra tall post on one side. Normal sized posts aren’t tall enough to go through 3 layers of 1.2mm leather. It took me quite a lot of time to find a supplier for these.
Next I will be cutting out the template of the piece with cutting dies. For the Calvi and Bastia this is 1 die but for the Duo it is 2. My dies are custom made with Japanese steel blades.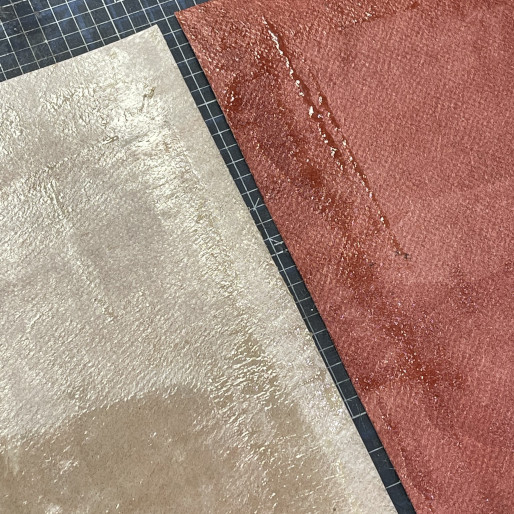
I now have my material cut out in the correct template. The finer work now starts.
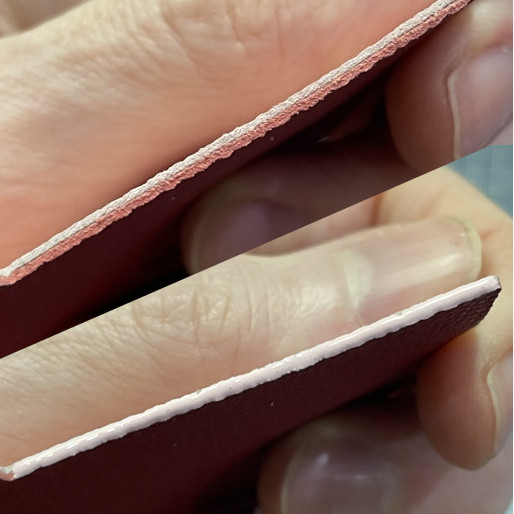
A purely decorative line needs to be added to the edge of the item. This is achieved with an Edge Crease tool. I use an electronic Edge Crease with a 1mm head at 230 celcius. Care must be taken to ensure an even line and preventing jumping of the tool across the leather or causing imperfections in our perfectly cut edges. 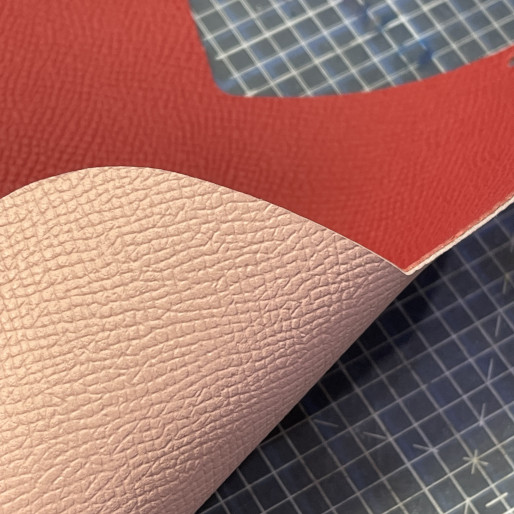
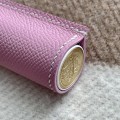
The edges of the item now need to be lightly sanded in preparation for painting. Before painting I need to mix up the correct colour paint to match the primary colour of the item. I use a leather specific edge paint product from a company called Uniters. Now I have the correct colour I can start the painting process. I apply a generous first layer. The leather of the item is between 1 and 1.2mm thick so I need to be incredibly careful to keep the paint to just the edge. This is especially important it there is a big colour contrast between the primary and secondary colour choices. Over-painting does happen sometimes however, when it does, a finger is pretty much the best way to remove this excess. 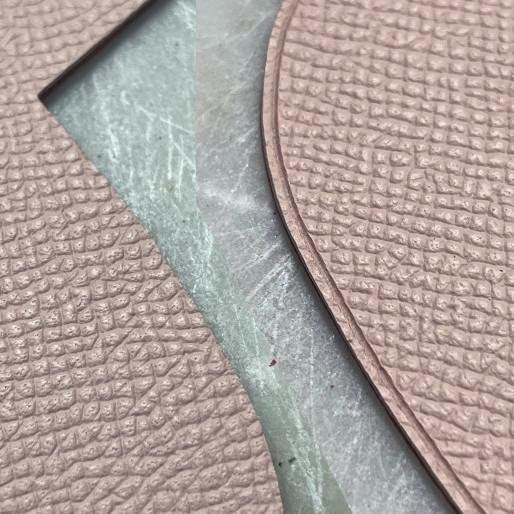 Once this first layer is applied it is left to dry for 20-40 mins depending on the temp and humidity of the studio. After first stage drying, I sand it down again. This is usually with 600 grit sandpaper and needs to be a white sandpaper for lighter colour edge paint. After a sanding there are usually a few spots that require touching up so these areas are repainted, allowed to dry and sanded again. I now have a smooth uniform painted edge. The final part of edge painting is to apply heat. I use the same electronic Edge Crease tool from before but change the head out for a spatula head specifically used for applying heat to edge paint.
Now for the final part, setting the press snaps. I have a tool specific for this task that accurately and reliably sets my snaps. Like most tools, however, it has its own idiosyncrasies but after much practice I am able to use it reliably now. After setting the snaps, I usually take a little time to press the edges to make sure they are well folded, giving it a sharp square look. I also like to give it a little time to breath, especially if I have finished it in a day. The adhesive I use has a particular fragrance which takes a little time to dissipate.